How to organize a small kitchen for baking without taking over the counters
· Editorial team newsfromla7.com
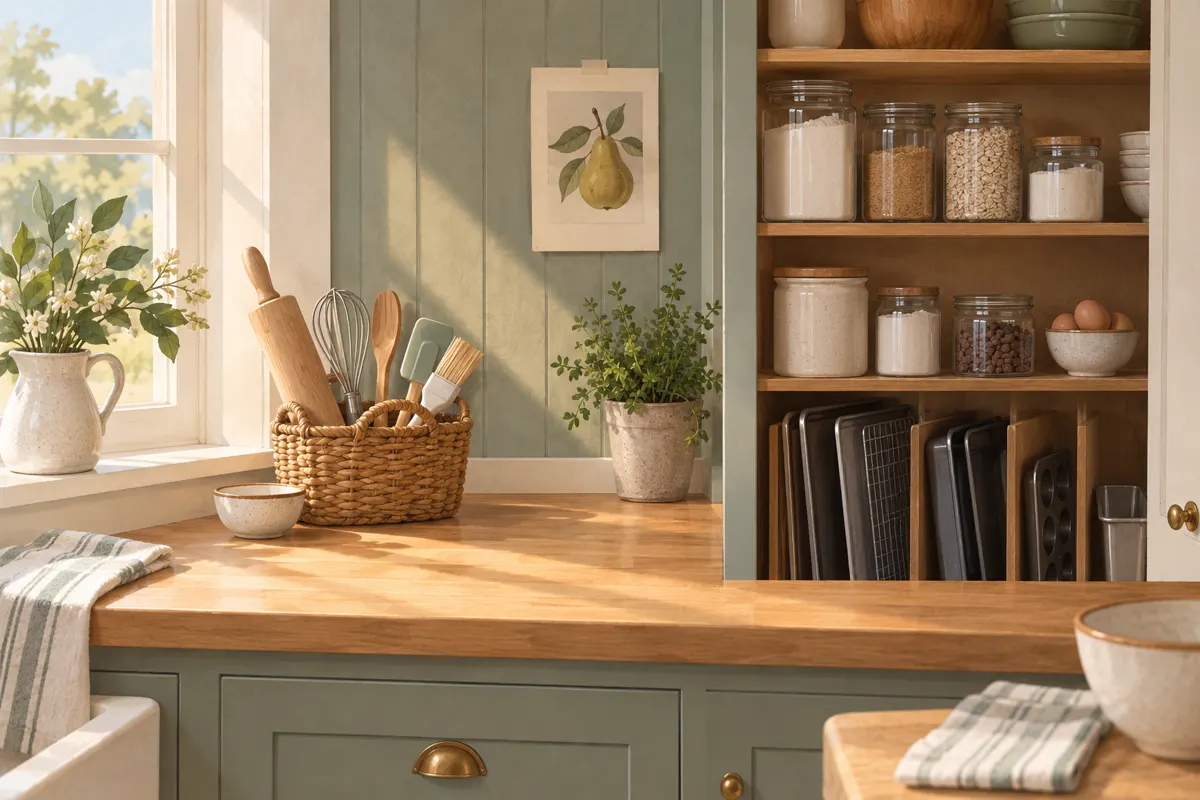
Keep baking supplies in a cabinet or drawer, group tools by the jobs they do, and bring out only what your recipe needs. A portable basket for small tools, clearly labeled ingredients, and upright storage for baking sheets can give you a practical baking setup without permanently filling the counters.
Start with the baking supplies you actually use
Before choosing containers, empty the shelf or drawer that holds your baking supplies. Clean it, check ingredient dates and packaging instructions, and make a quick inventory. Seeing everything together makes it easier to spot duplicate bags, forgotten decorations, and tools that need a better home.
Our proposed starting point is one drawer for small tools and one shelf for ingredients. Adjust that footprint to your kitchen and baking habits. Someone who makes cookies every week needs different access than someone who brings out cake-decorating equipment twice a year.
- Put frequently used supplies in the easiest available storage spot.
- Move occasional tools to a less convenient shelf, keeping them together.
- Identify unnecessary duplicates before buying more organizers.
- Measure shelf height and drawer depth before choosing baskets or containers.
Group small tools by task
Give small tools defined compartments instead of letting them spread through a general utensil drawer. Shallow drawer dividers can separate measuring tools from other equipment; a handled basket can hold smaller items in a deeper drawer. The goal is to retrieve a group without digging underneath everything else.
For a task-based layout, we propose these three groups. Keep tools you also use for everyday cooking wherever they are most useful, rather than buying duplicates just to complete a baking drawer.
- Measuring: measuring cups, measuring spoons, and a kitchen scale if you use one.
- Mixing and shaping: spatulas, a whisk, a dough scraper, and cookie scoops.
- Finishing: piping tips, piping bags, cupcake liners, and cookie cutters.
Make ingredients easy to identify and retrieve
Group ingredients into recognizable categories: flours, sugars, leaveners, flavorings, chocolate, and dried fruit or nuts. Keep the categories visible when you open the cupboard. Small packets and bottles can share a shallow basket so they do not disappear behind larger containers.
Clear, airtight containers can make dry ingredients easier to identify and quantities easier to see. Choose containers that fit your shelf and usual package sizes. You do not need to decant everything: an orderly arrangement of original packages may suit your space better.
- Label each decanted ingredient with its exact name, especially different types of flour.
- Retain relevant dates, storage directions, and instructions from the original packaging.
- Place labels where you can read them from the cupboard opening.
- Keep extra packages together behind or beside the open supply, where space permits.
Store baking sheets upright and contain awkward equipment
If your cabinet has enough height, use a tray organizer to store baking sheets upright. Separate sheets, muffin pans, and cutting boards so you can pull out the piece you need. Check that the cabinet door closes and that handles or pan rims do not catch on the opening.
For other bulky equipment, our proposal is to nest compatible mixing bowls and keep attachments together in a small container. Store the rolling pin where it fits without blocking other tools. If a mixer occupies valuable counter space, consider an accessible cabinet only if you can comfortably lift it in and out.
Build a portable kit and reset the counter after baking
Our proposed portable kit is a handled basket containing your most-used measuring spoons, cups, spatula, and whisk. Give it a permanent cabinet home. Leave enough room to lift it out easily; an overflowing basket simply moves the clutter from one place to another.
- Read the recipe, then bring out the kit, ingredients, bowls, and pans it requires.
- Keep the basket beside your working area and return unused tools to it.
- Close ingredient packages and return them to storage after measuring.
- Wash and fully dry tools before putting them back in the kit.
- Return the kit and pans to their assigned spaces, then wipe the counter.
After a few baking sessions, adjust anything that feels awkward to retrieve or put away. A useful arrangement is one you can maintain during an ordinary week, with clear counter space ready for the next meal.